Member Project: Maker-Cades!
A history of the Makercade project, and how it turned from a single unit, personal project, to a massive organizational effort to make a bunch of miniature arcade emulators!
So many thanks should be handed, to Ben, Jeffrey, Bruce, and everyone else who had a hand in getting these together at the last minute. We managed to pull off the impossible, and we managed to do it TWICE!
Here’s some photos of the whole process of getting them built!
The Beginning
I suppose I should start by mentioning that this project began as a personal project. It wasn’t really ever intended to be ‘for the shop’.

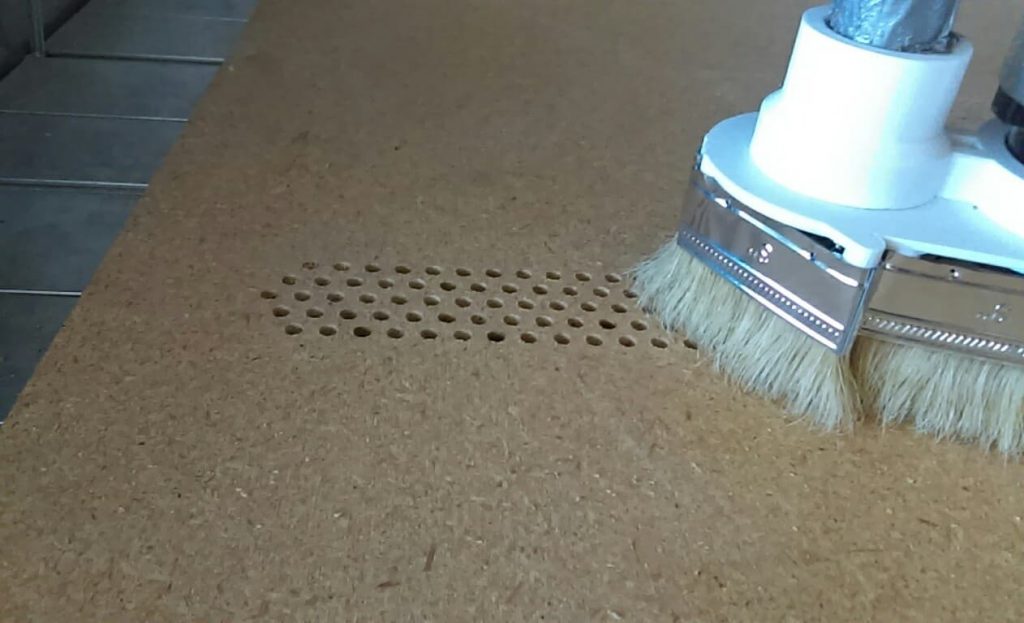
In a previous post, I talked about the early beginnings, little more than a cluster of pieces, in a mess on the table.. and that machine later came together in a skeletal ‘proof of concept form.
That early prototype was very rough, and really only existed to hold all the pieces together so I could even determine if this was a project that was going to work!
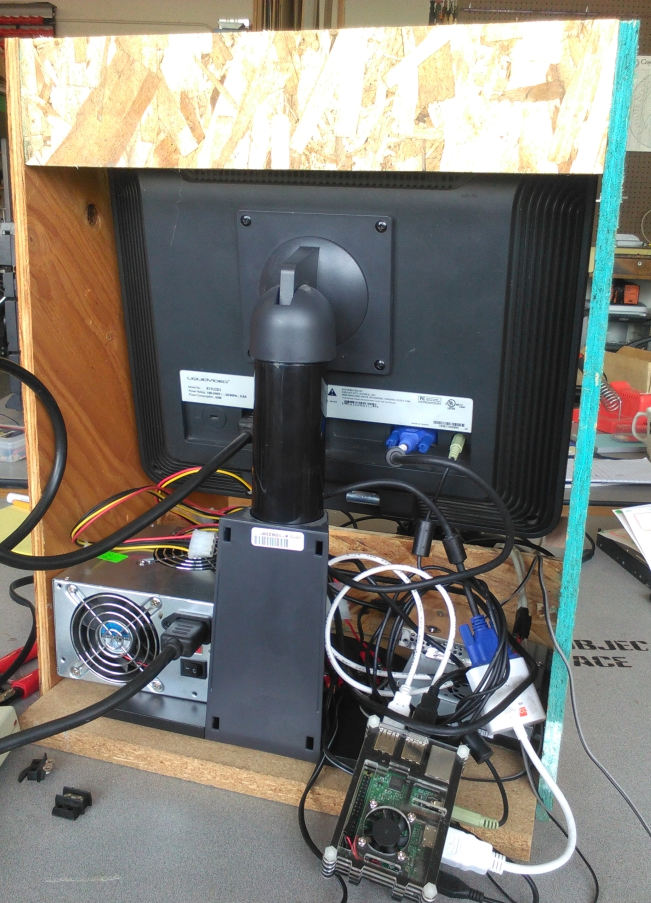
That early version had things just hanging out the back, but it proved that the idea of building this thing.. could work
It wasn’t long after I got it up and running, that Jeffrey asked if he could take it with him to an event where EMS was tabling.
Word after the event was that the machine, as rough as it was, was extremely popular.
So I continued my work, trying to make it more ‘finished.
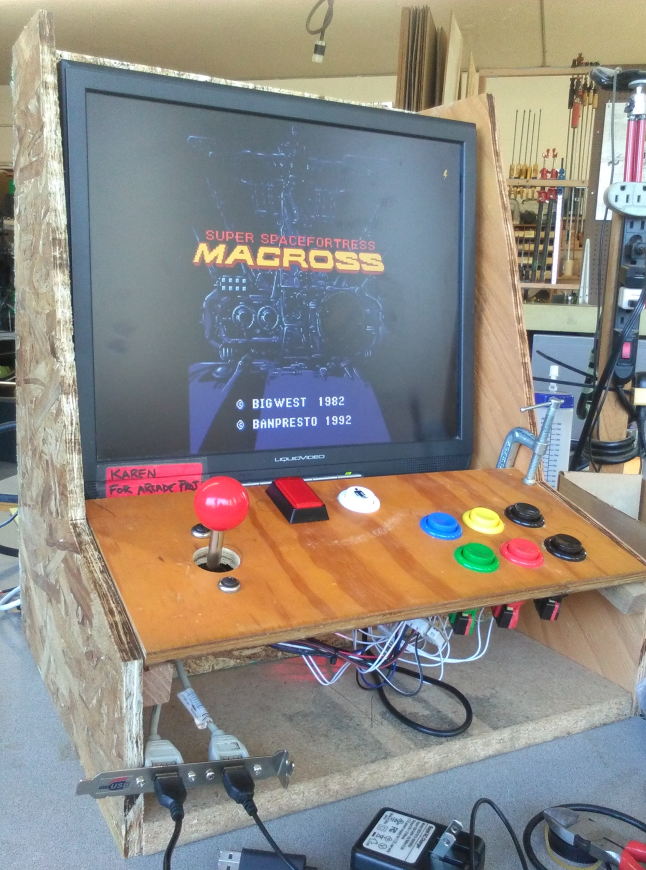
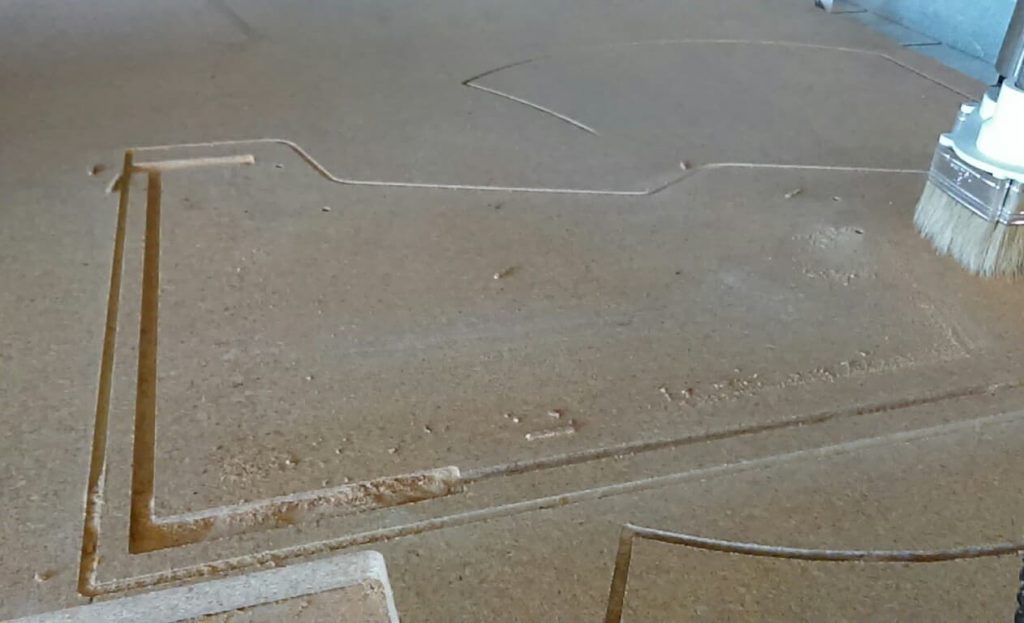
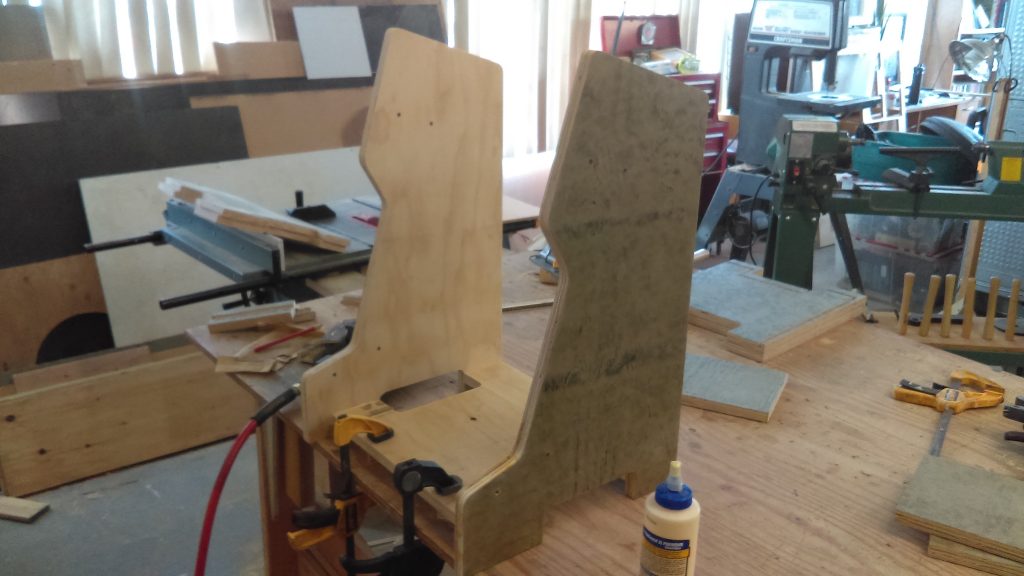
I started building a ‘draft’ model, using available pieces of MDF particle board that we had around the shop. It wasn’t the ideal material for the project, but it was plentiful, and any mistakes I made wouldn’t be made on expensive plywood.
Things were looking good, but the idea came up to ‘create one for the shop’.. and before I’d even finished the one for myself, I was back to the drawing board.
And then very suddenly, the push changed from ‘make one for EMS’ to “how about we make.. several.. in time for this big retro 80’s event at the Library in a couple of weeks?
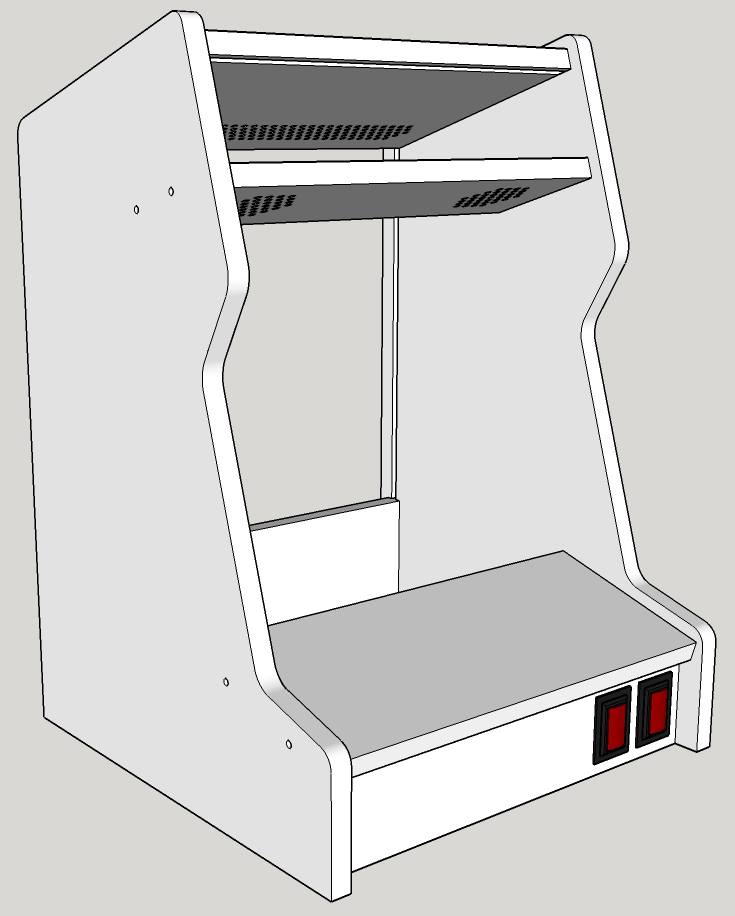
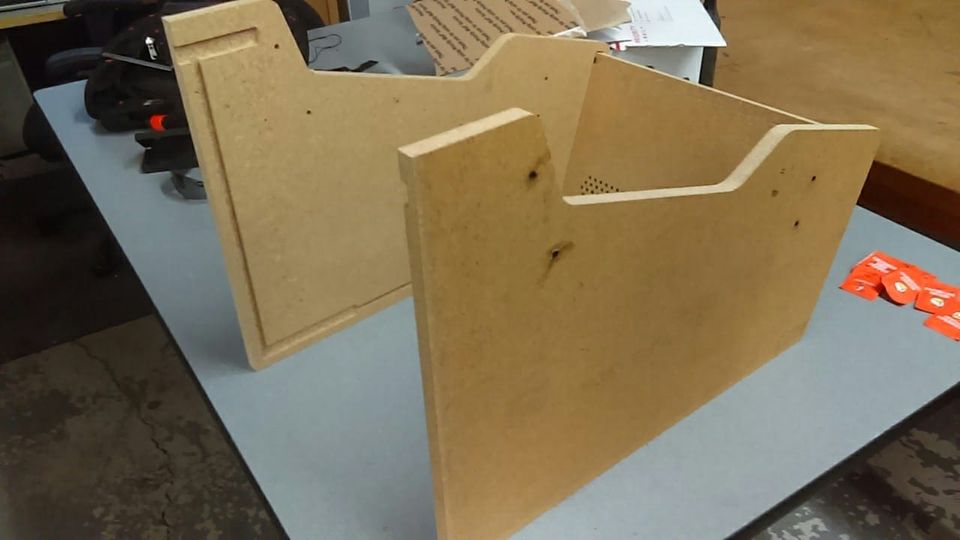
I began simplifying the design.
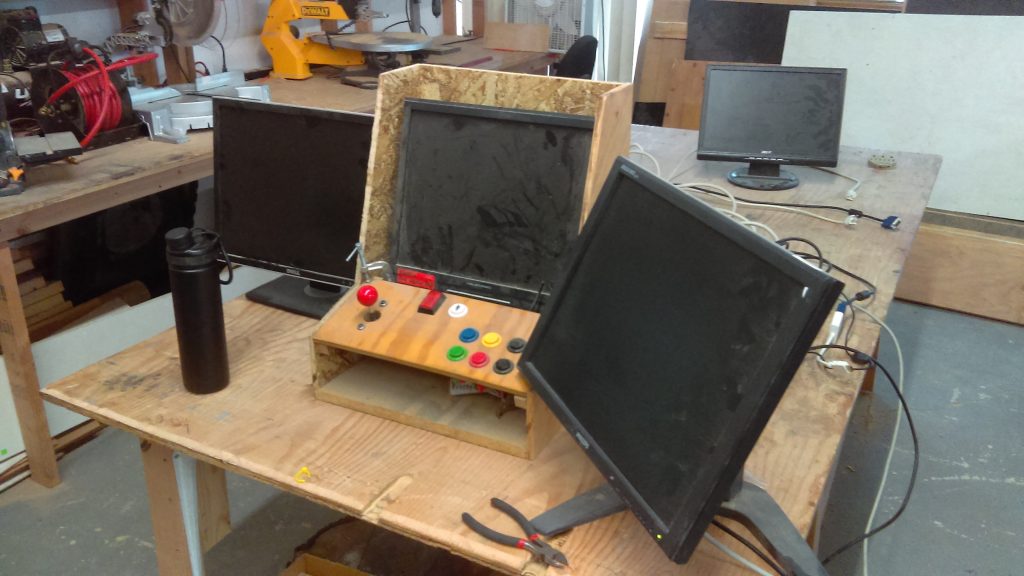
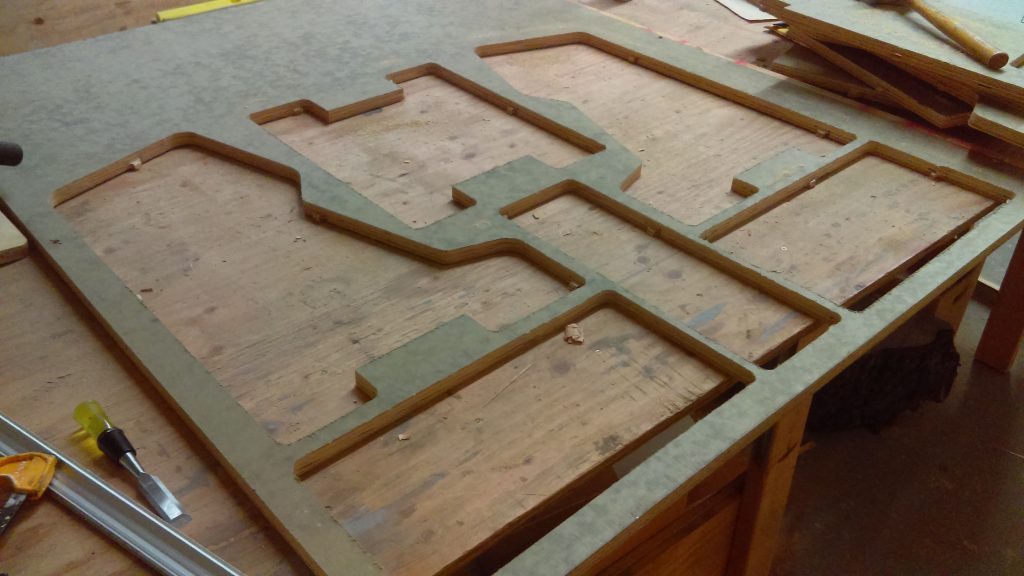
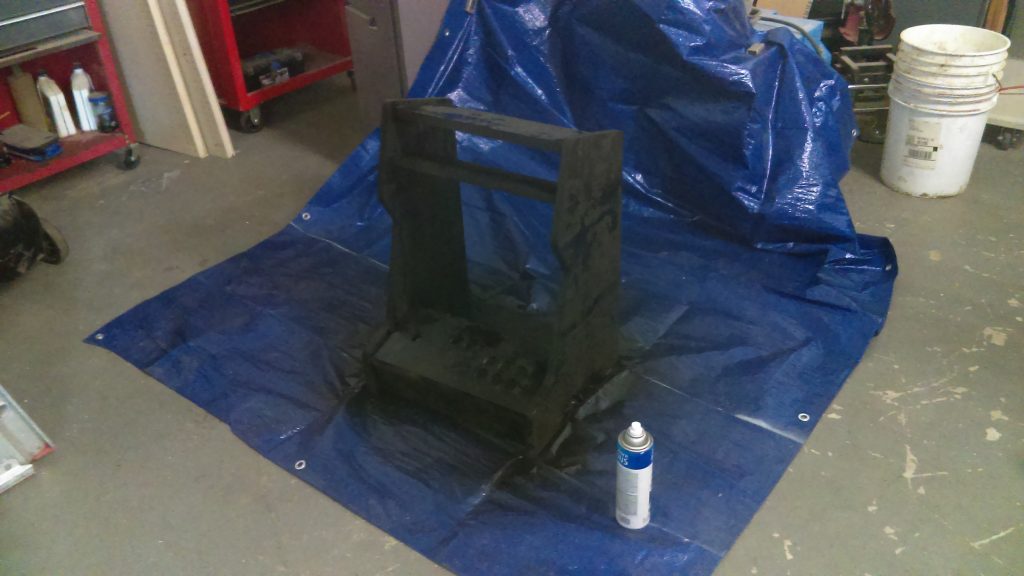
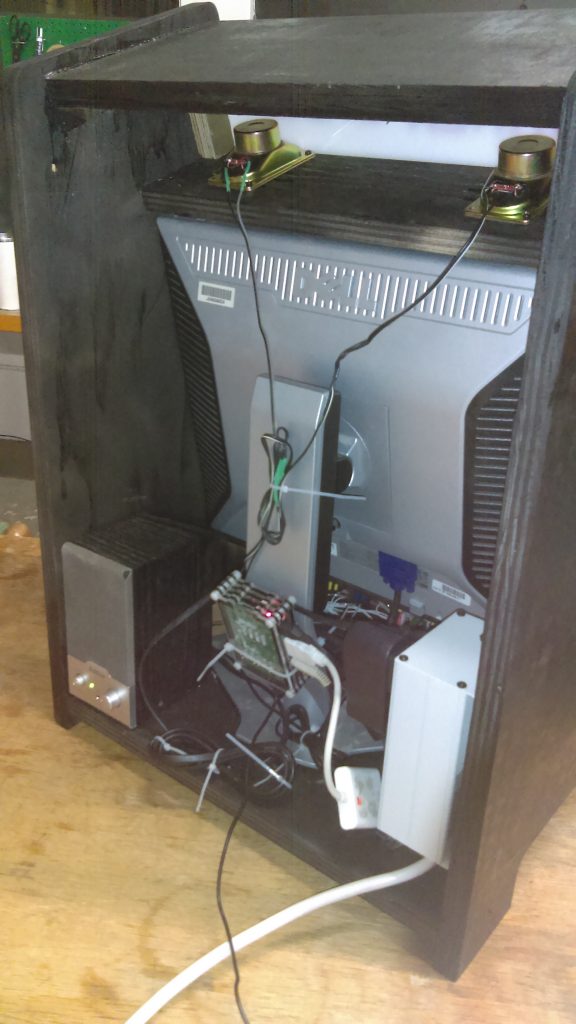
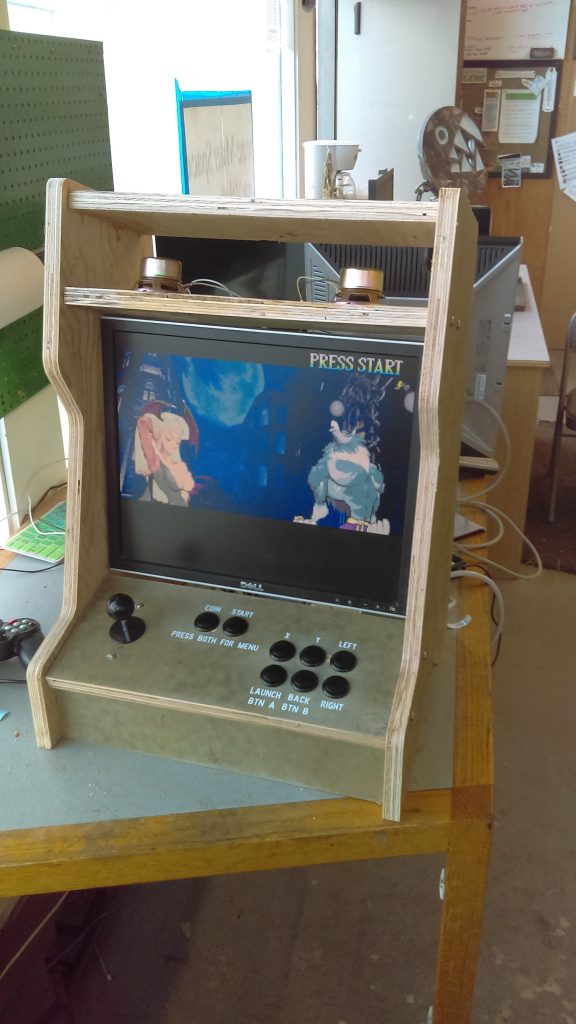
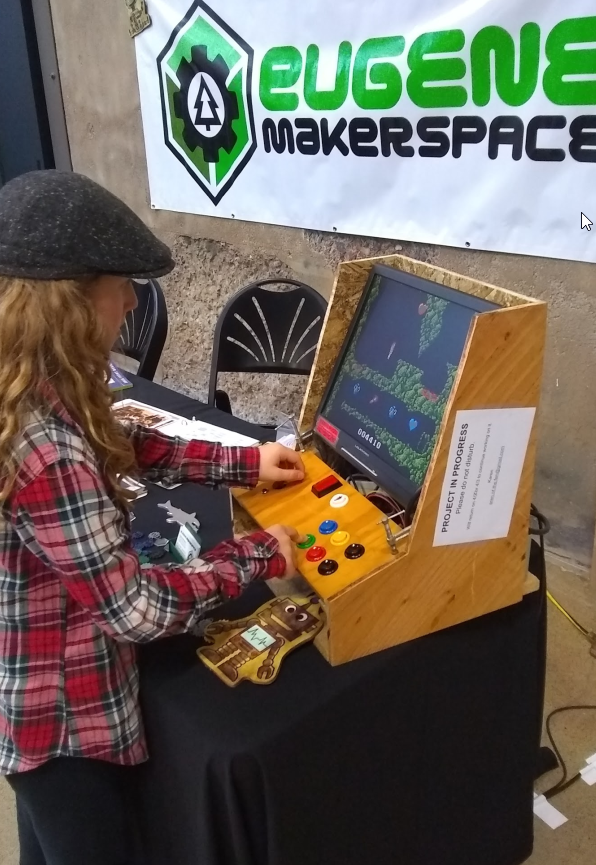
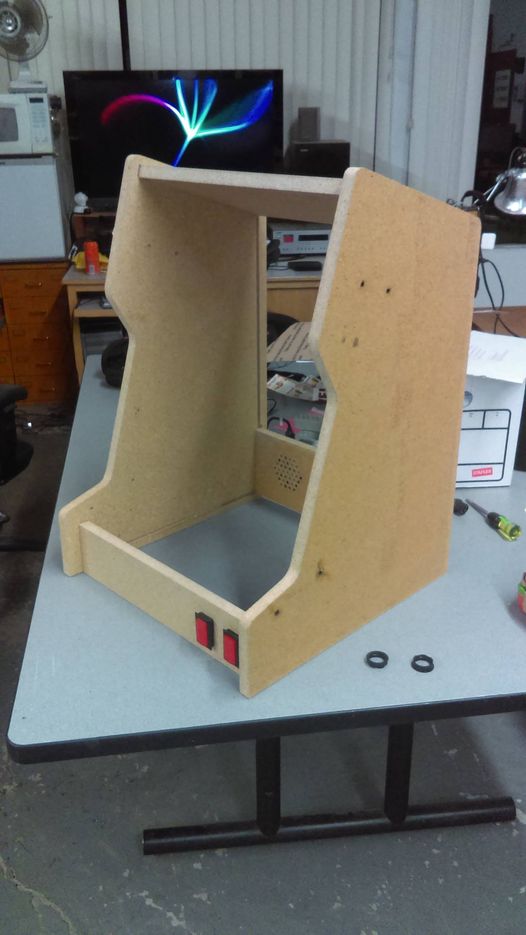
One of the elements that we wanted to keep, was that “Open Back” where people could see the inner workings of the machine. They’re really very simple builds, and it’s a great advertisement for the idea of how simple it is to MAKE things like this!
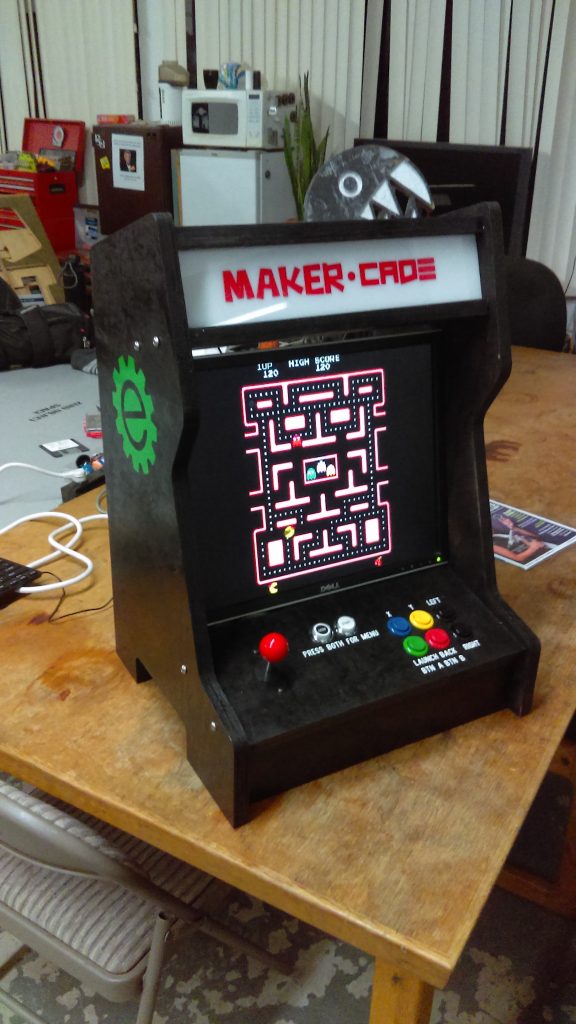
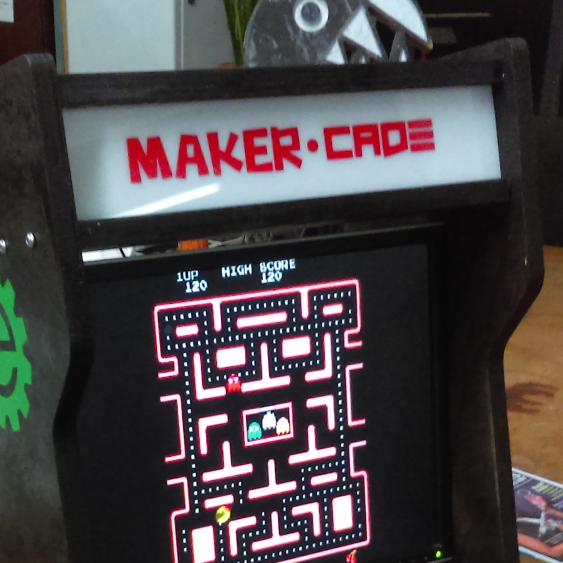
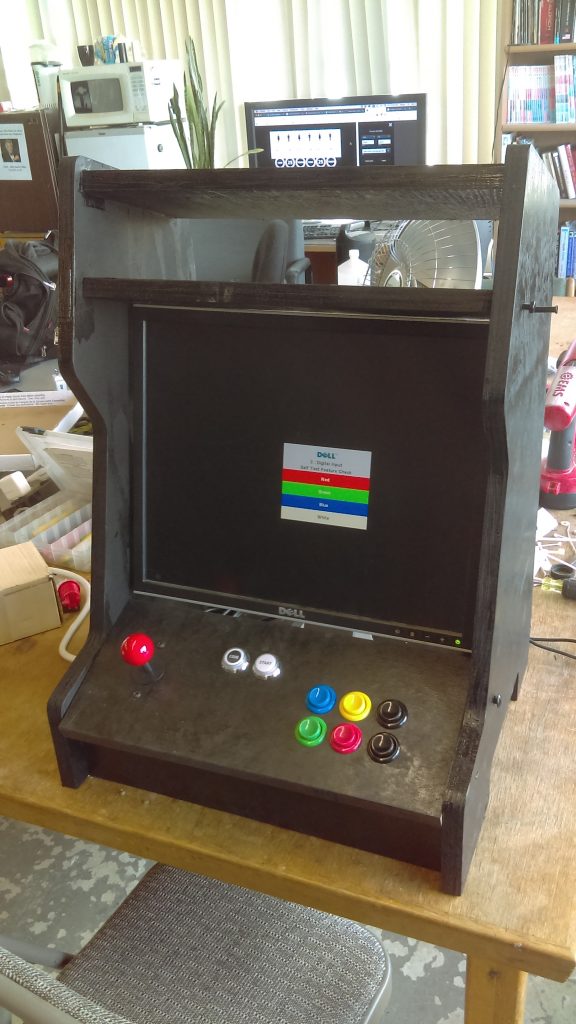
At this point, of course, we had built two of them, one painted, and one not. The plan had been to build three, and paint them all, but time had gotten away from us, and with some parts still having not arrived, we settled for two machines, one painted, and one more ‘in the raw’.
The two together really show how these projects come together.