Bob’s Laser Cutter, part 4
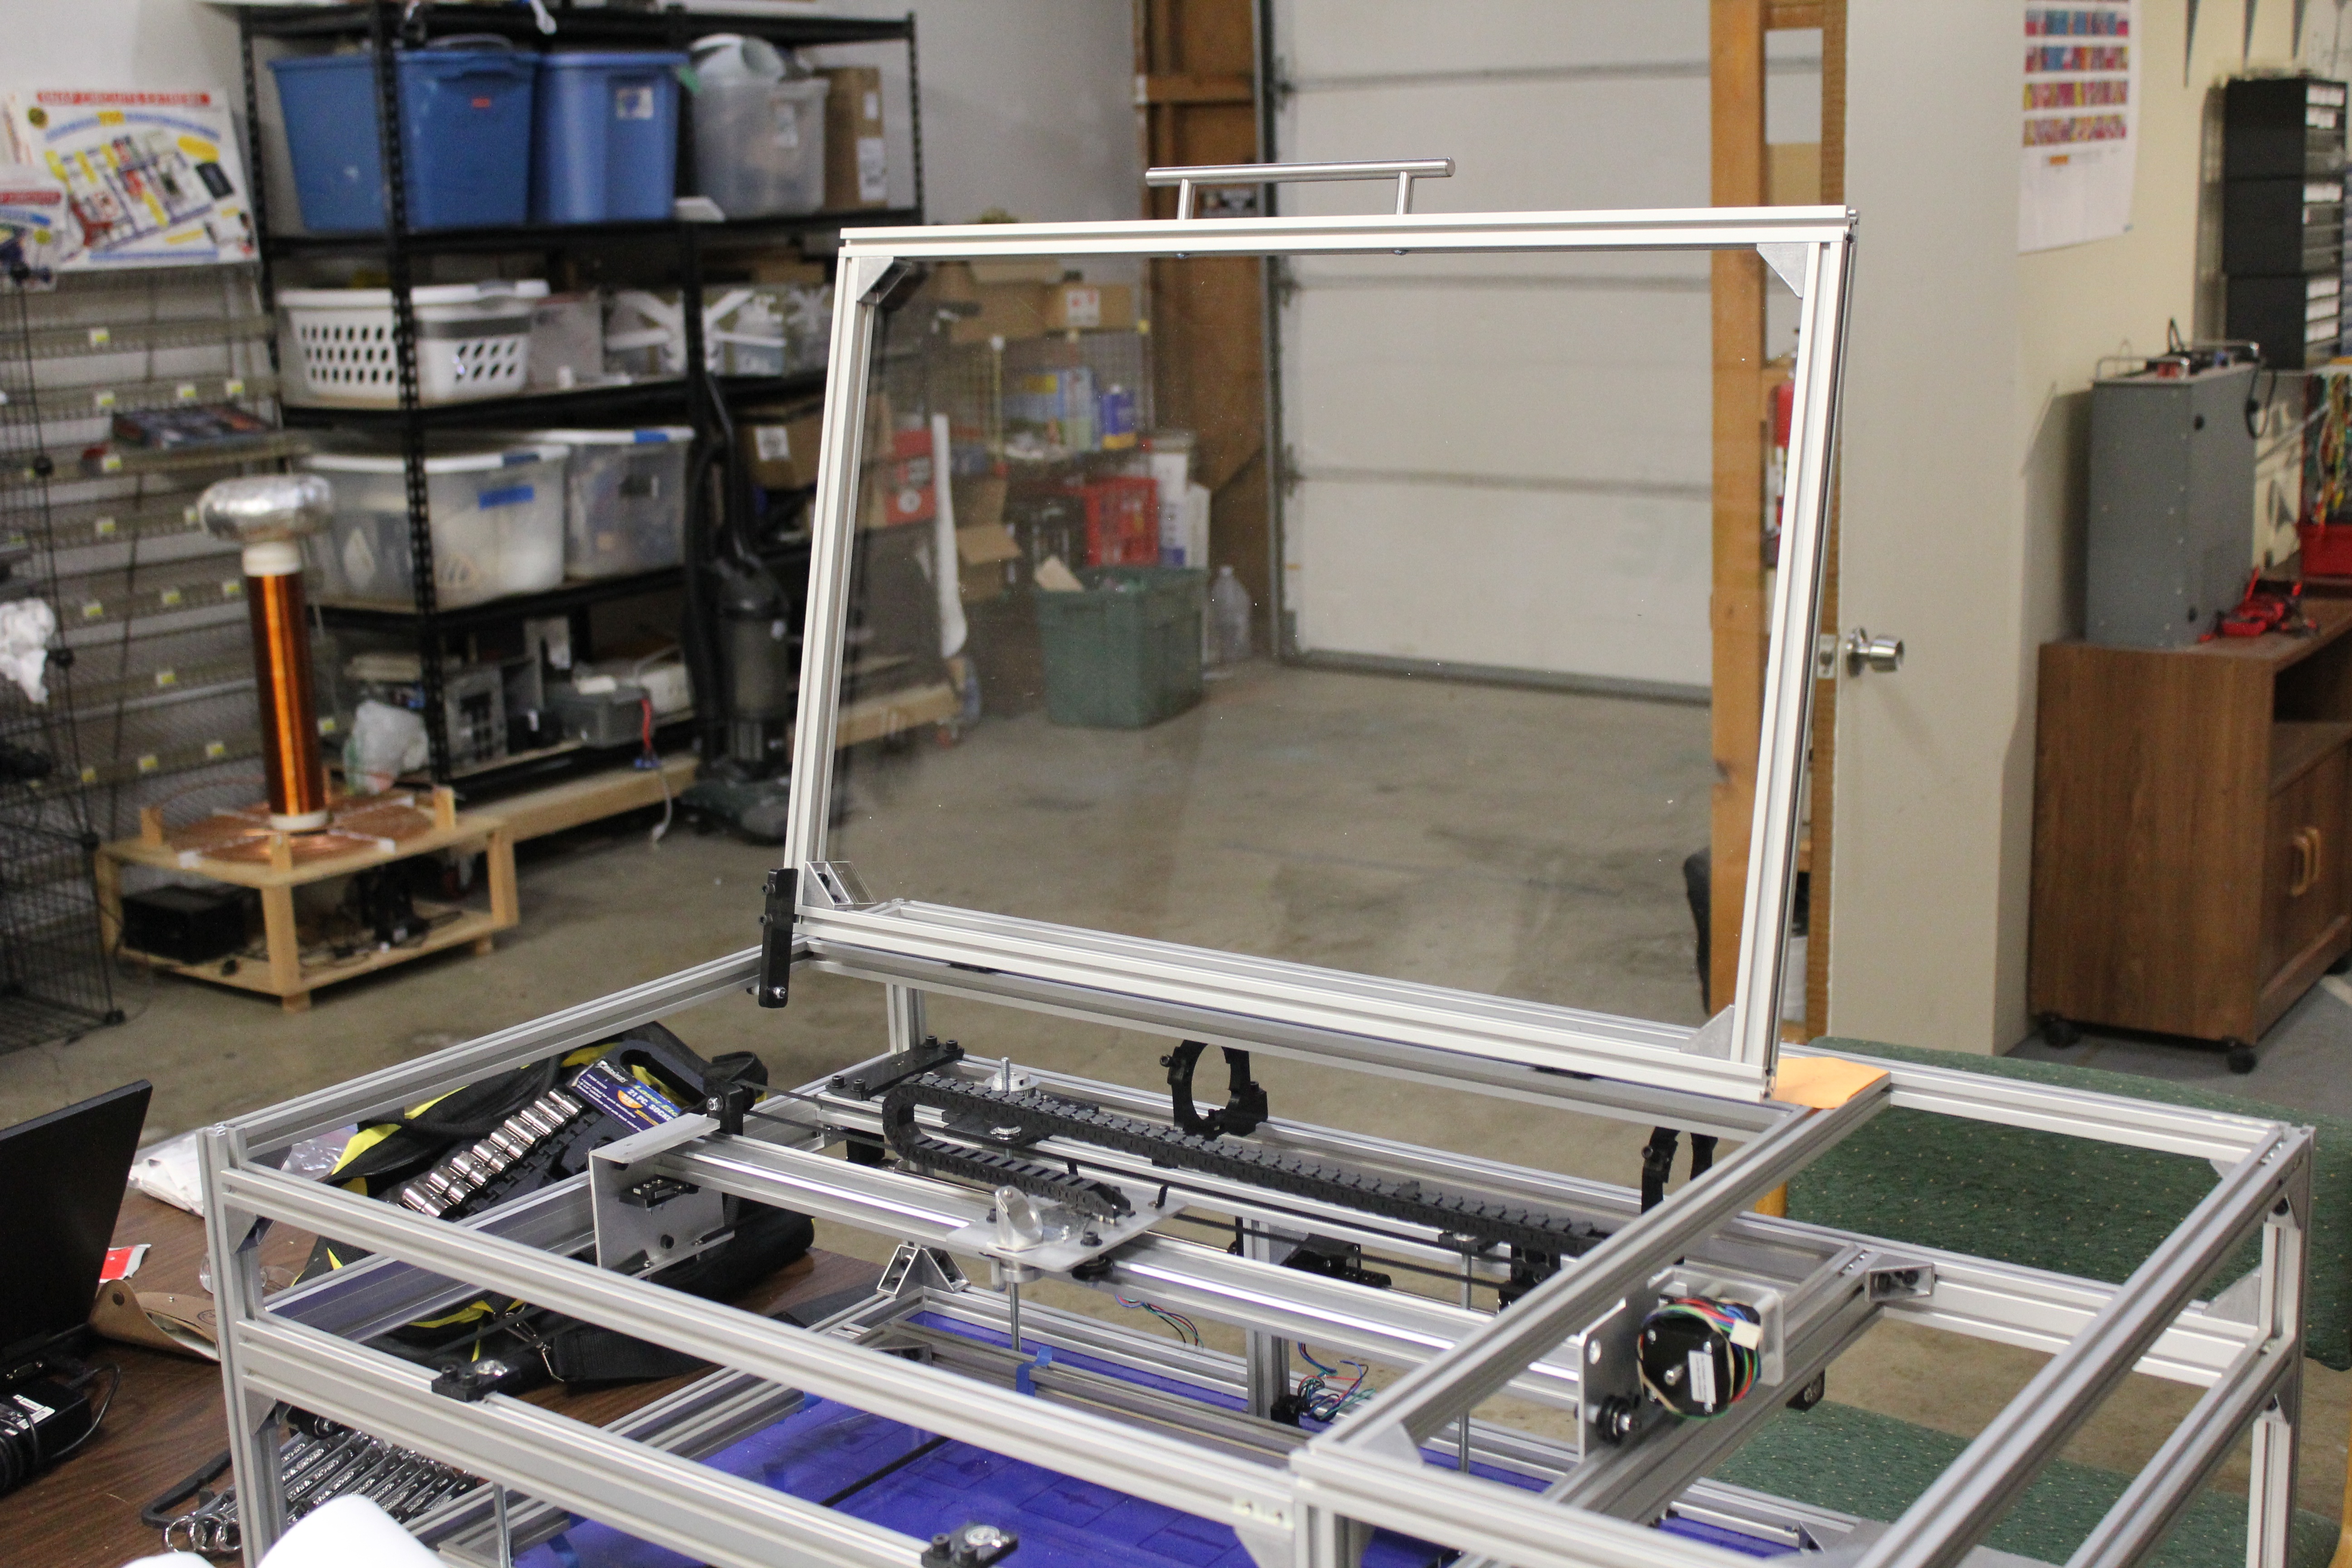
Today I worked on my laser cutter project. I built the top cover and installed it along with a stop and a switch, then I fabricated a plate for the electronics.
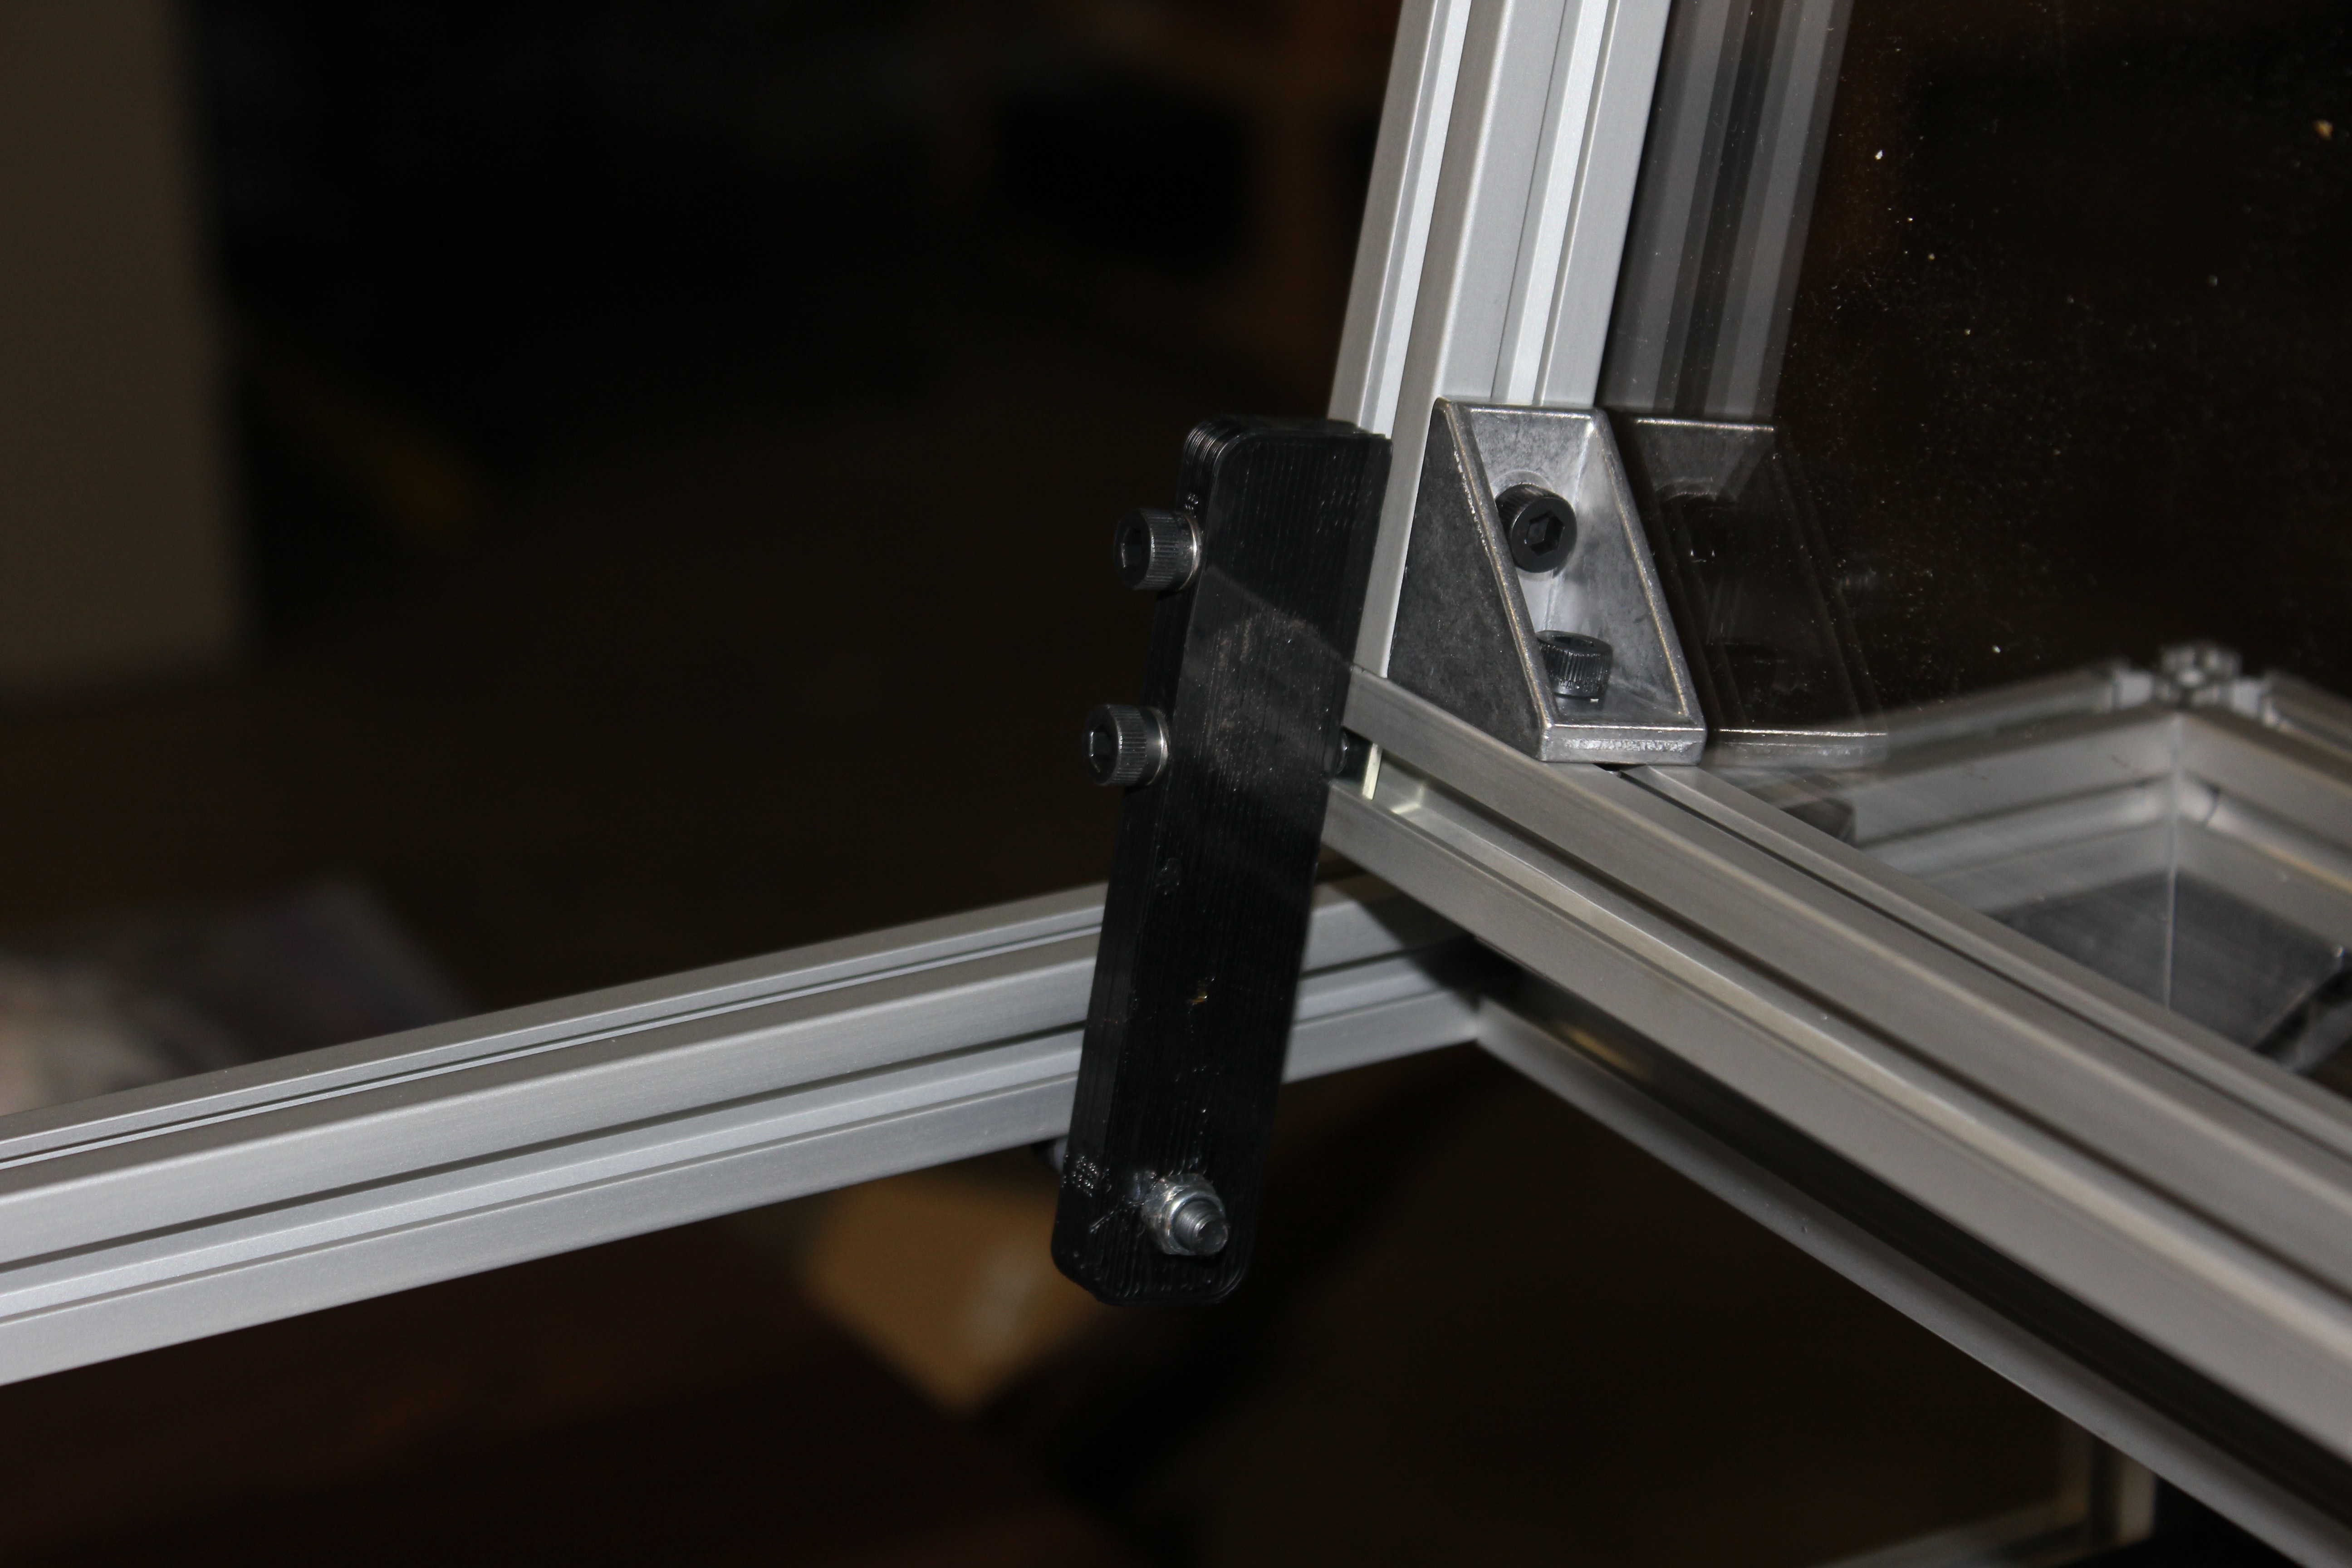
This little guy stops the door just past vertical. I printed it on Rick’s Makerbot.
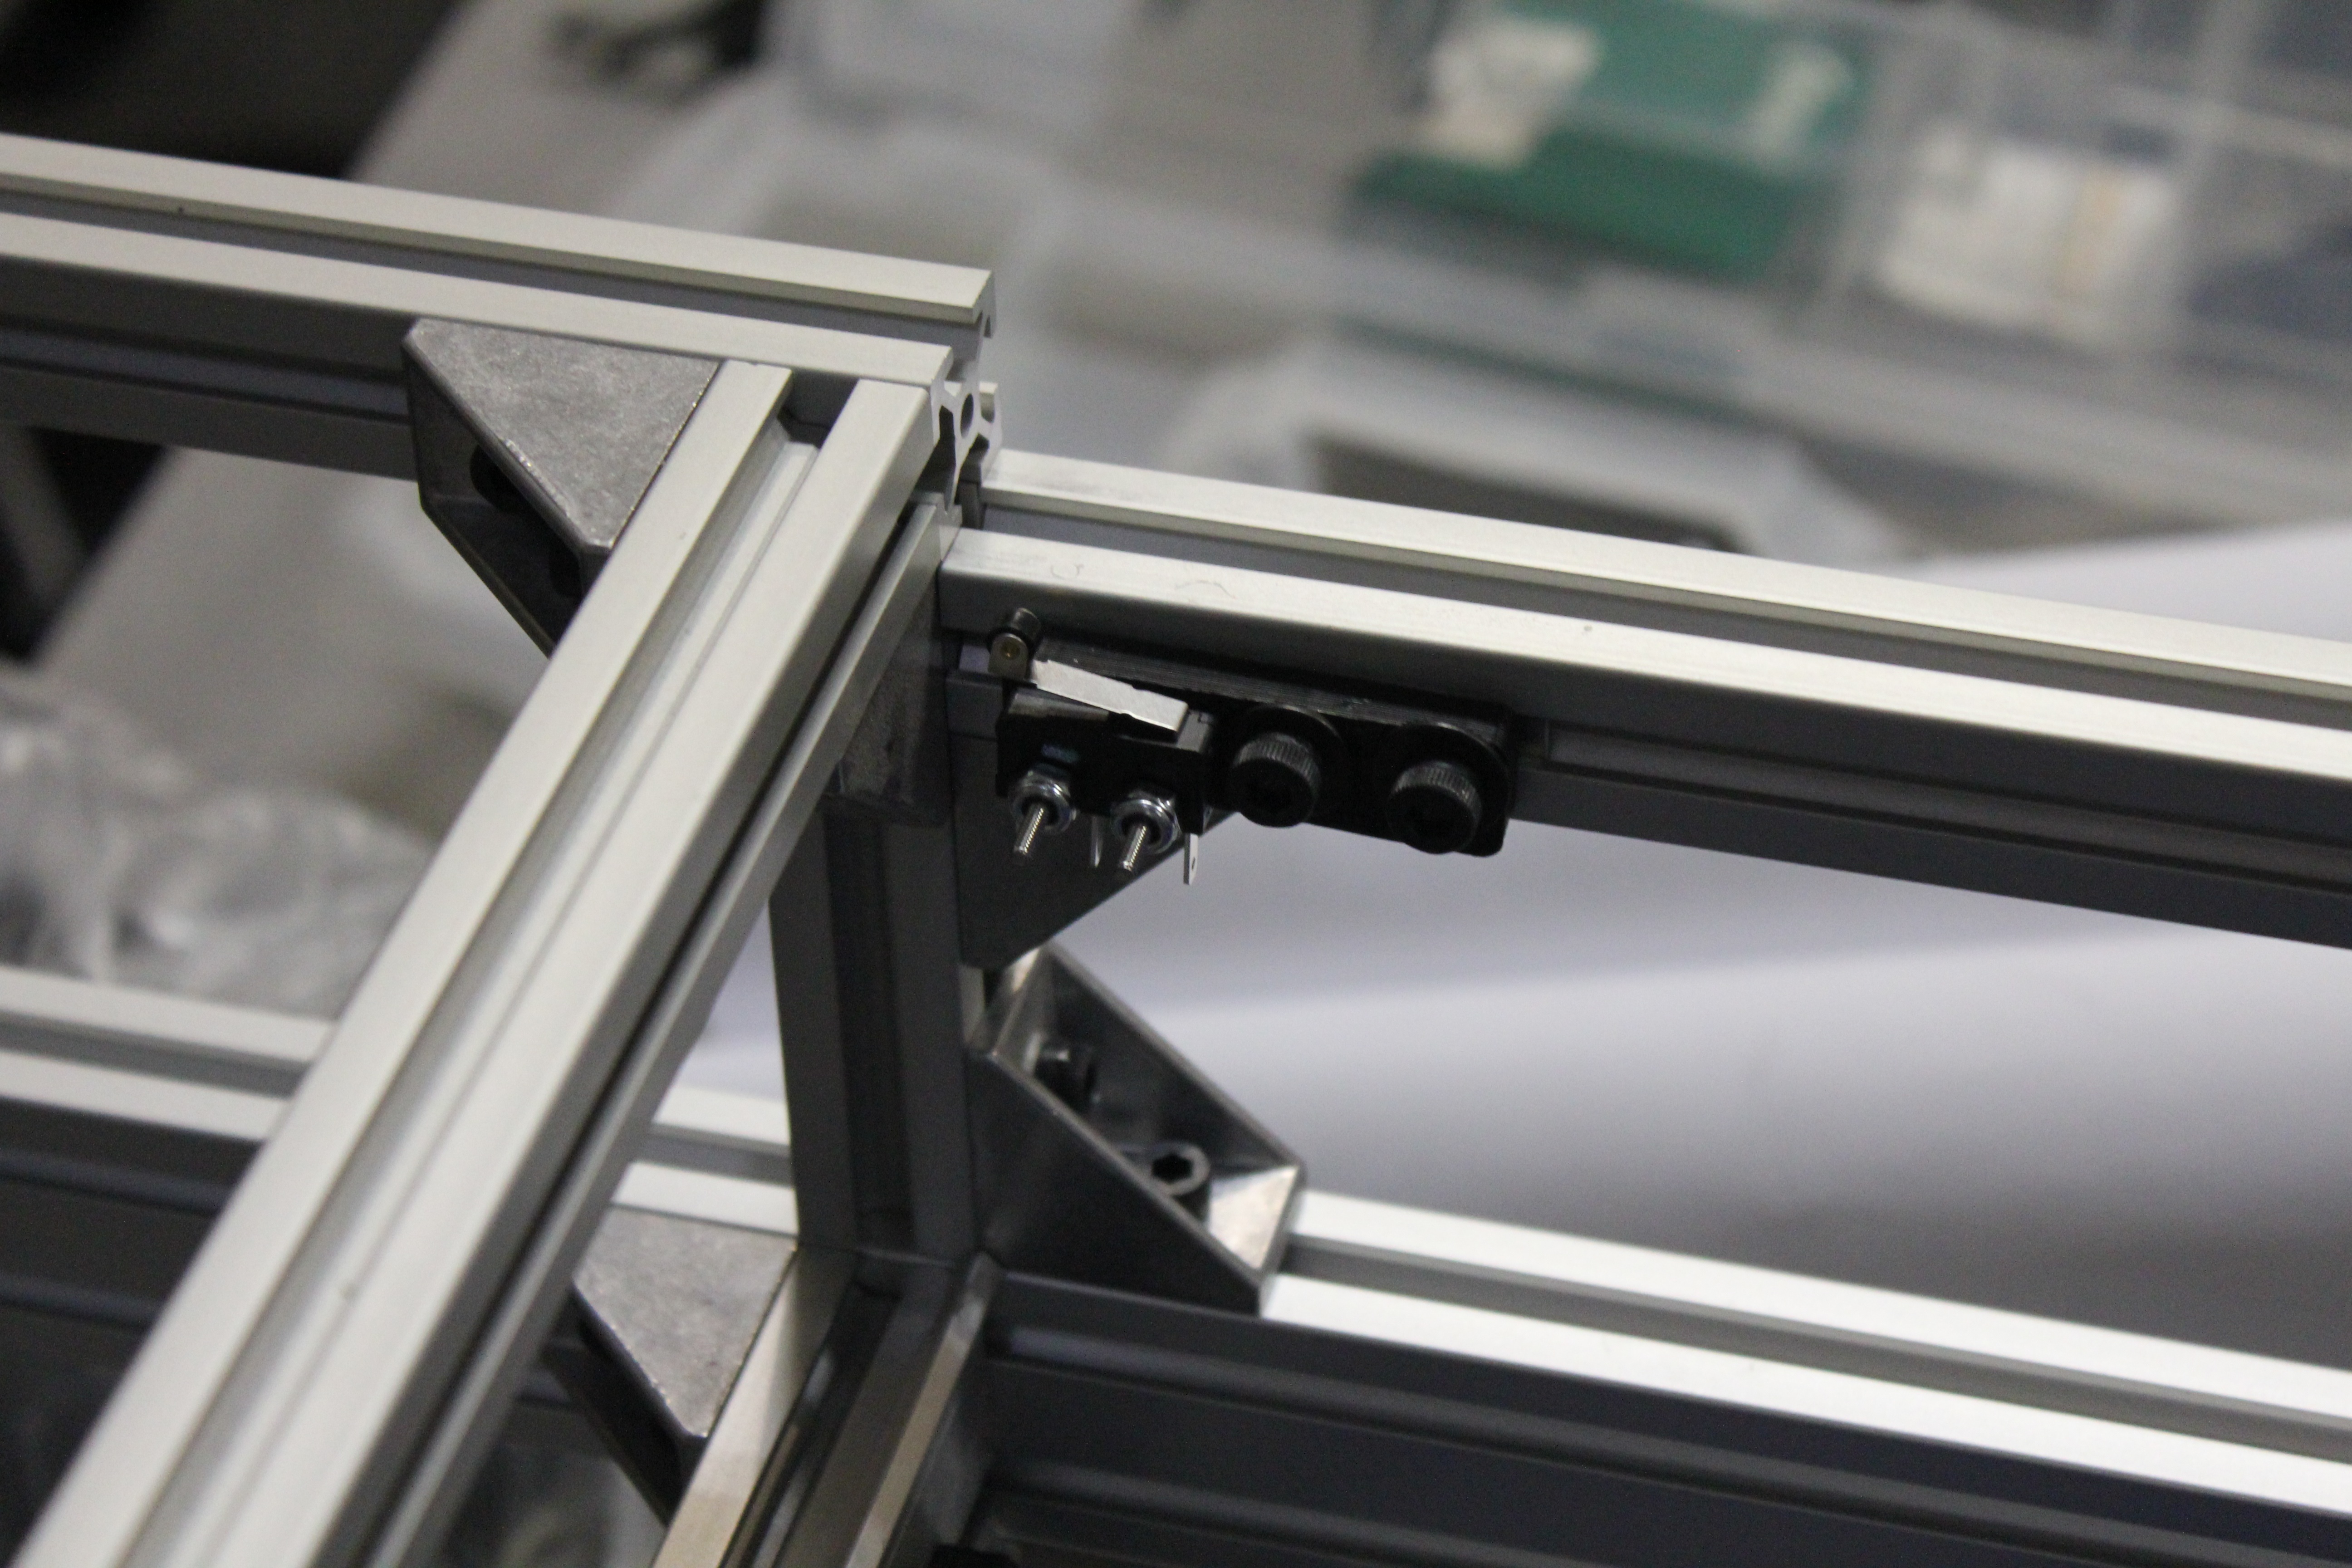
This switch will detect when the door is open and shut off the laser. Also from Rick’s Makerbot.
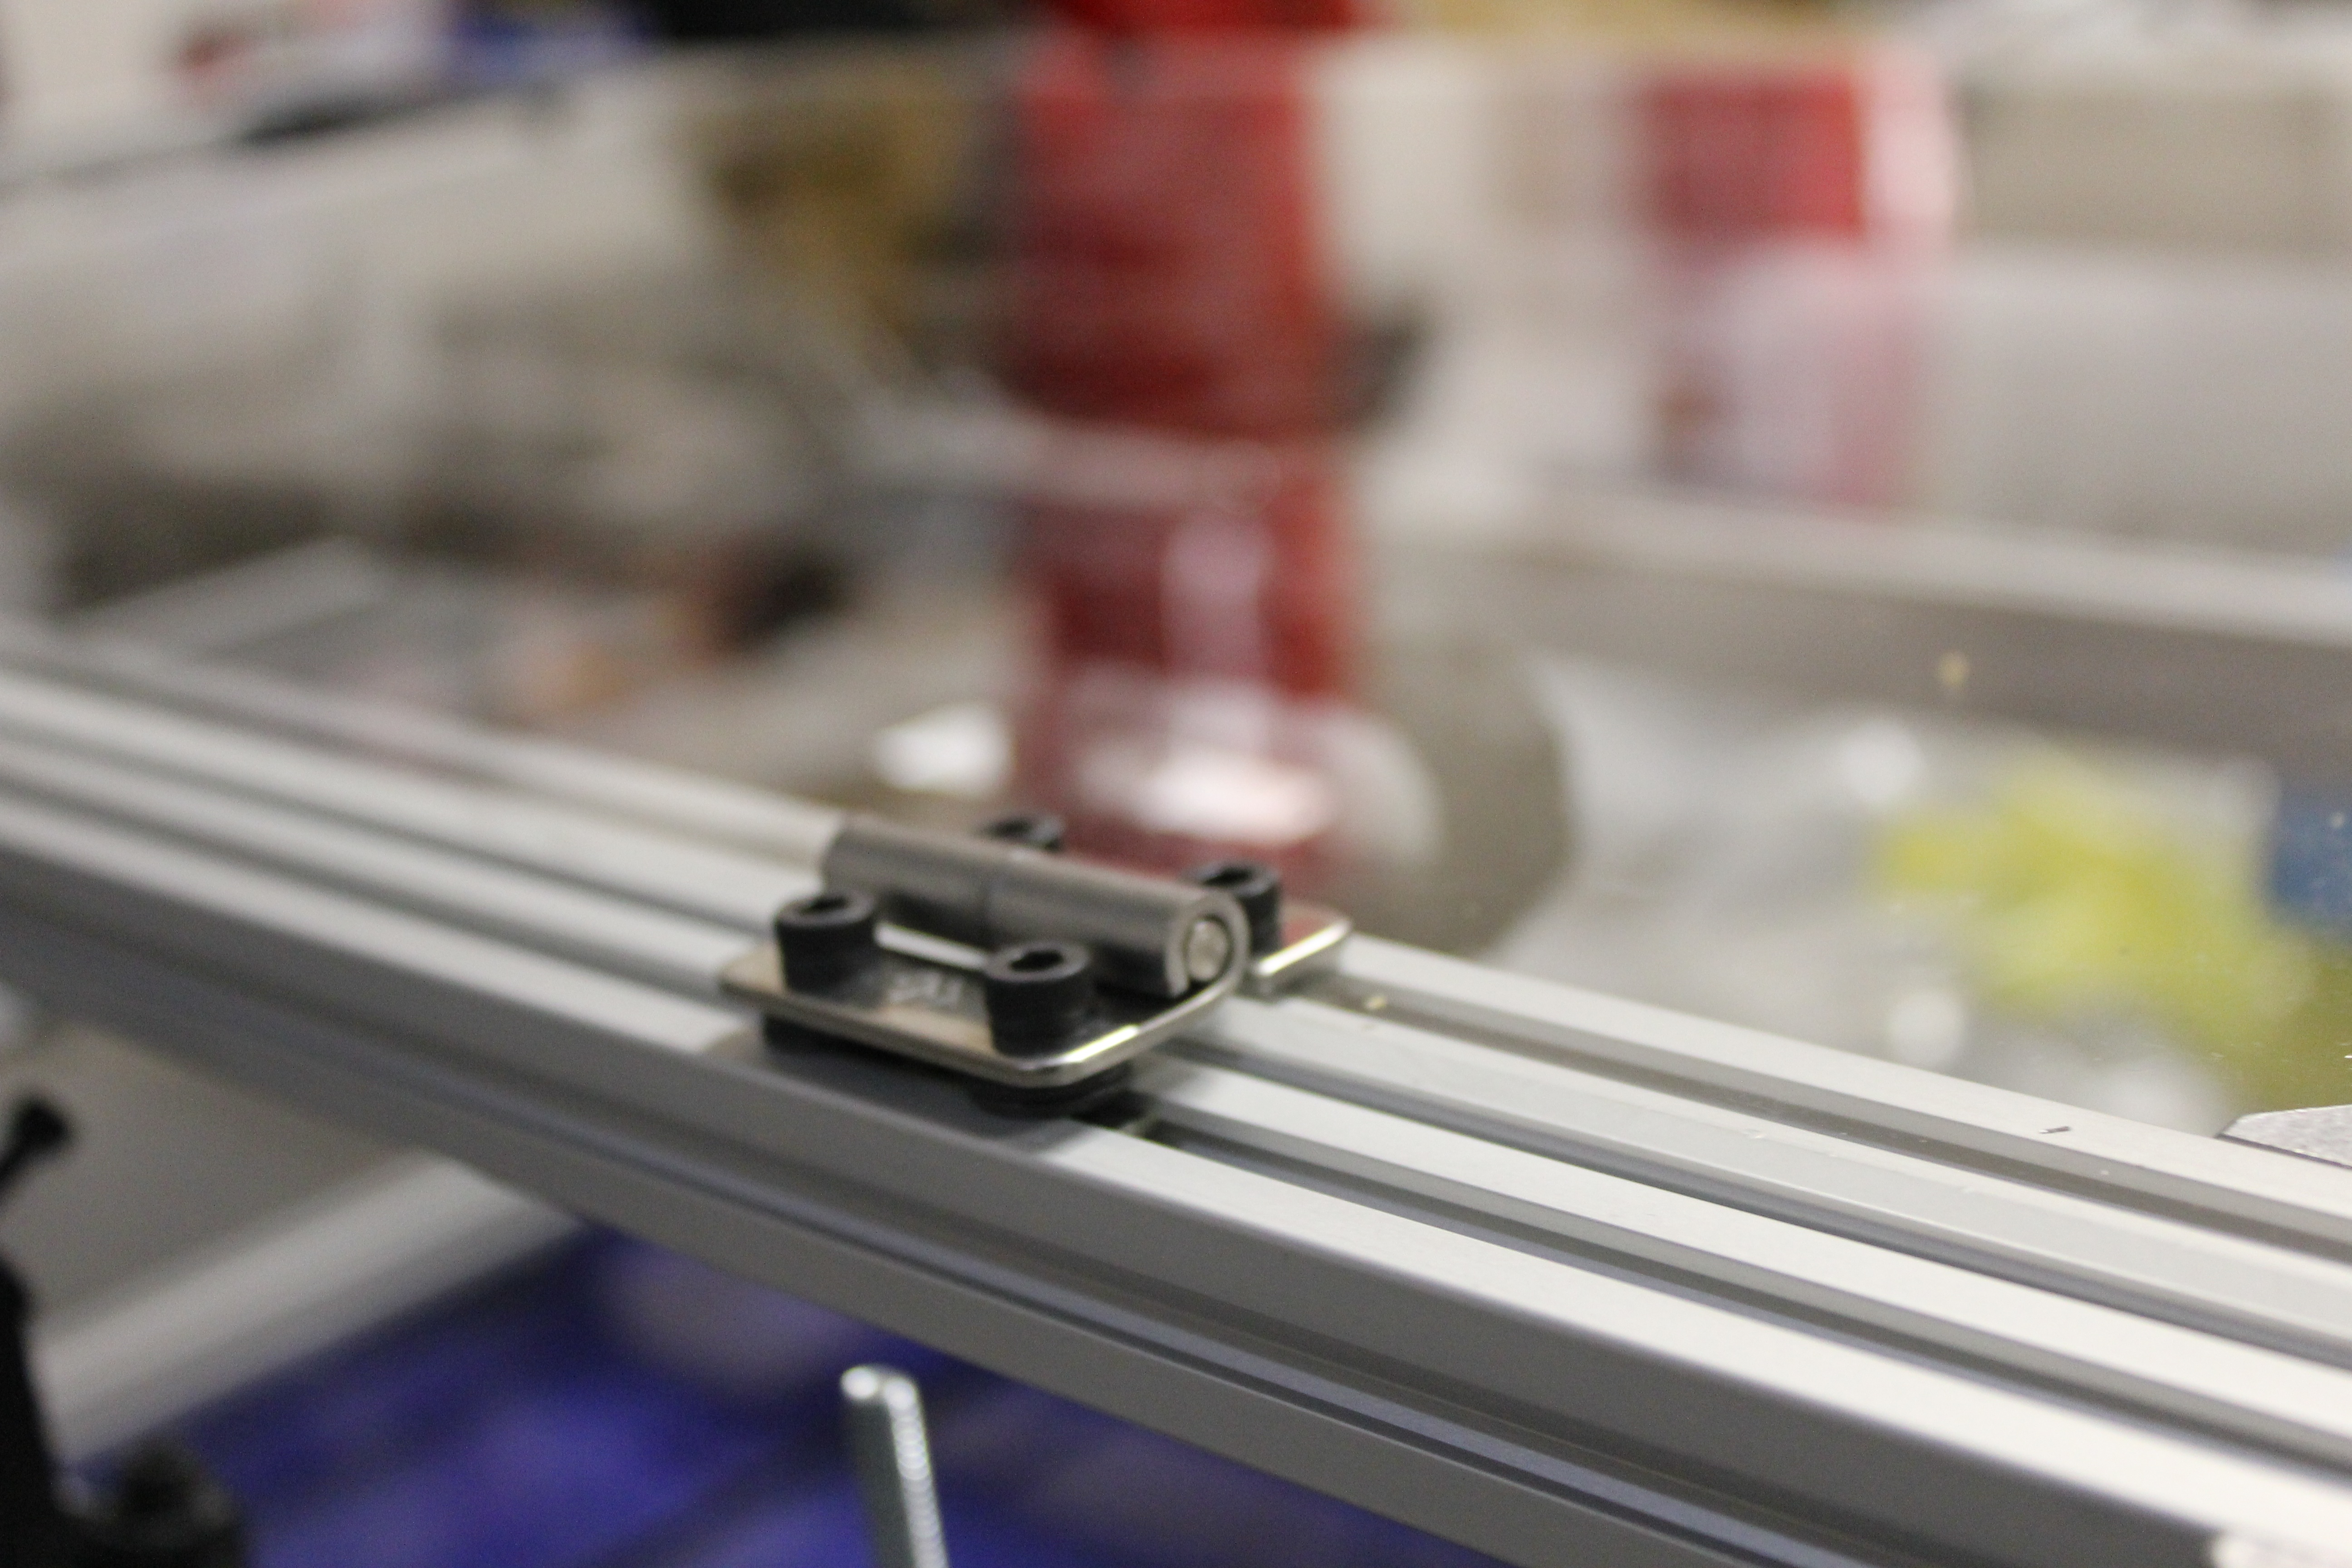
I put a stack of washers under the door hinge. When I install the skin, it will be about as thick as those washers.
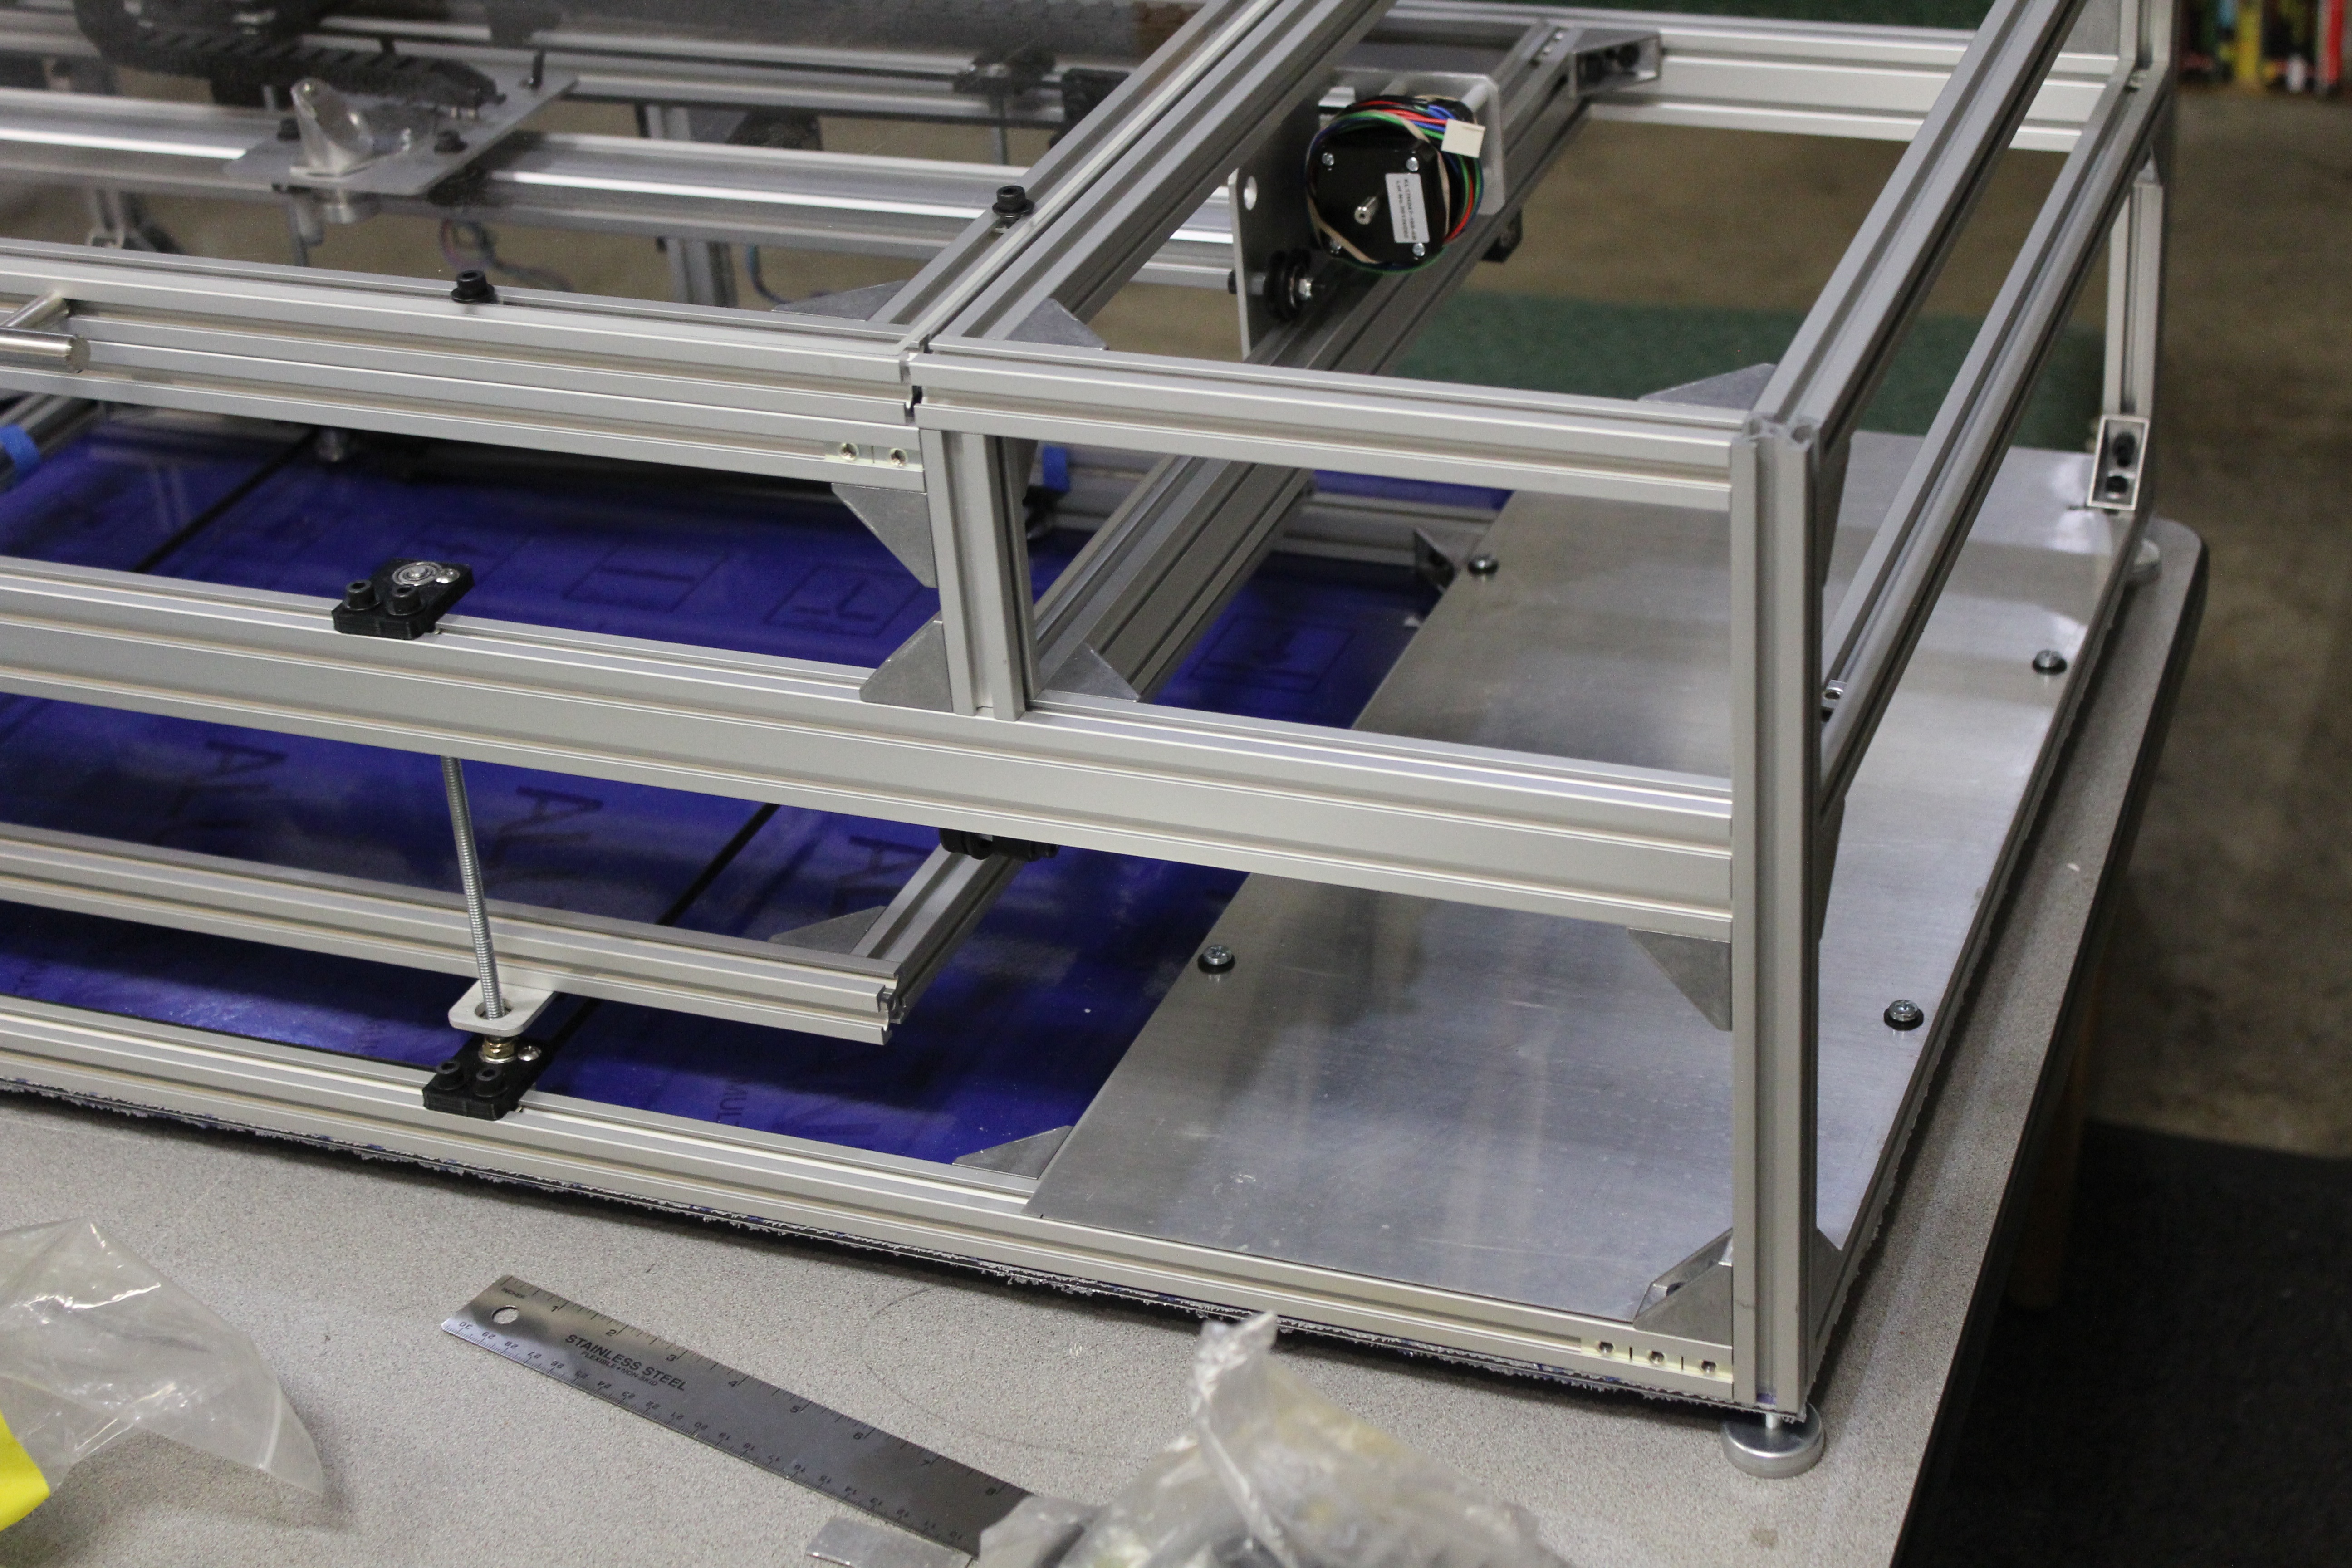
After the door was done, I fabricated an aluminum plate to support the electronics. I cut it on the table saw and drilled it in the small drill press.
Then Darrell and I looked at different ways to arrange the electronics on that plate. This is one arrangement. (The silver Christmas bow represents a power distribution block.) For more about my layout quandary, see this post on buildlog.net.
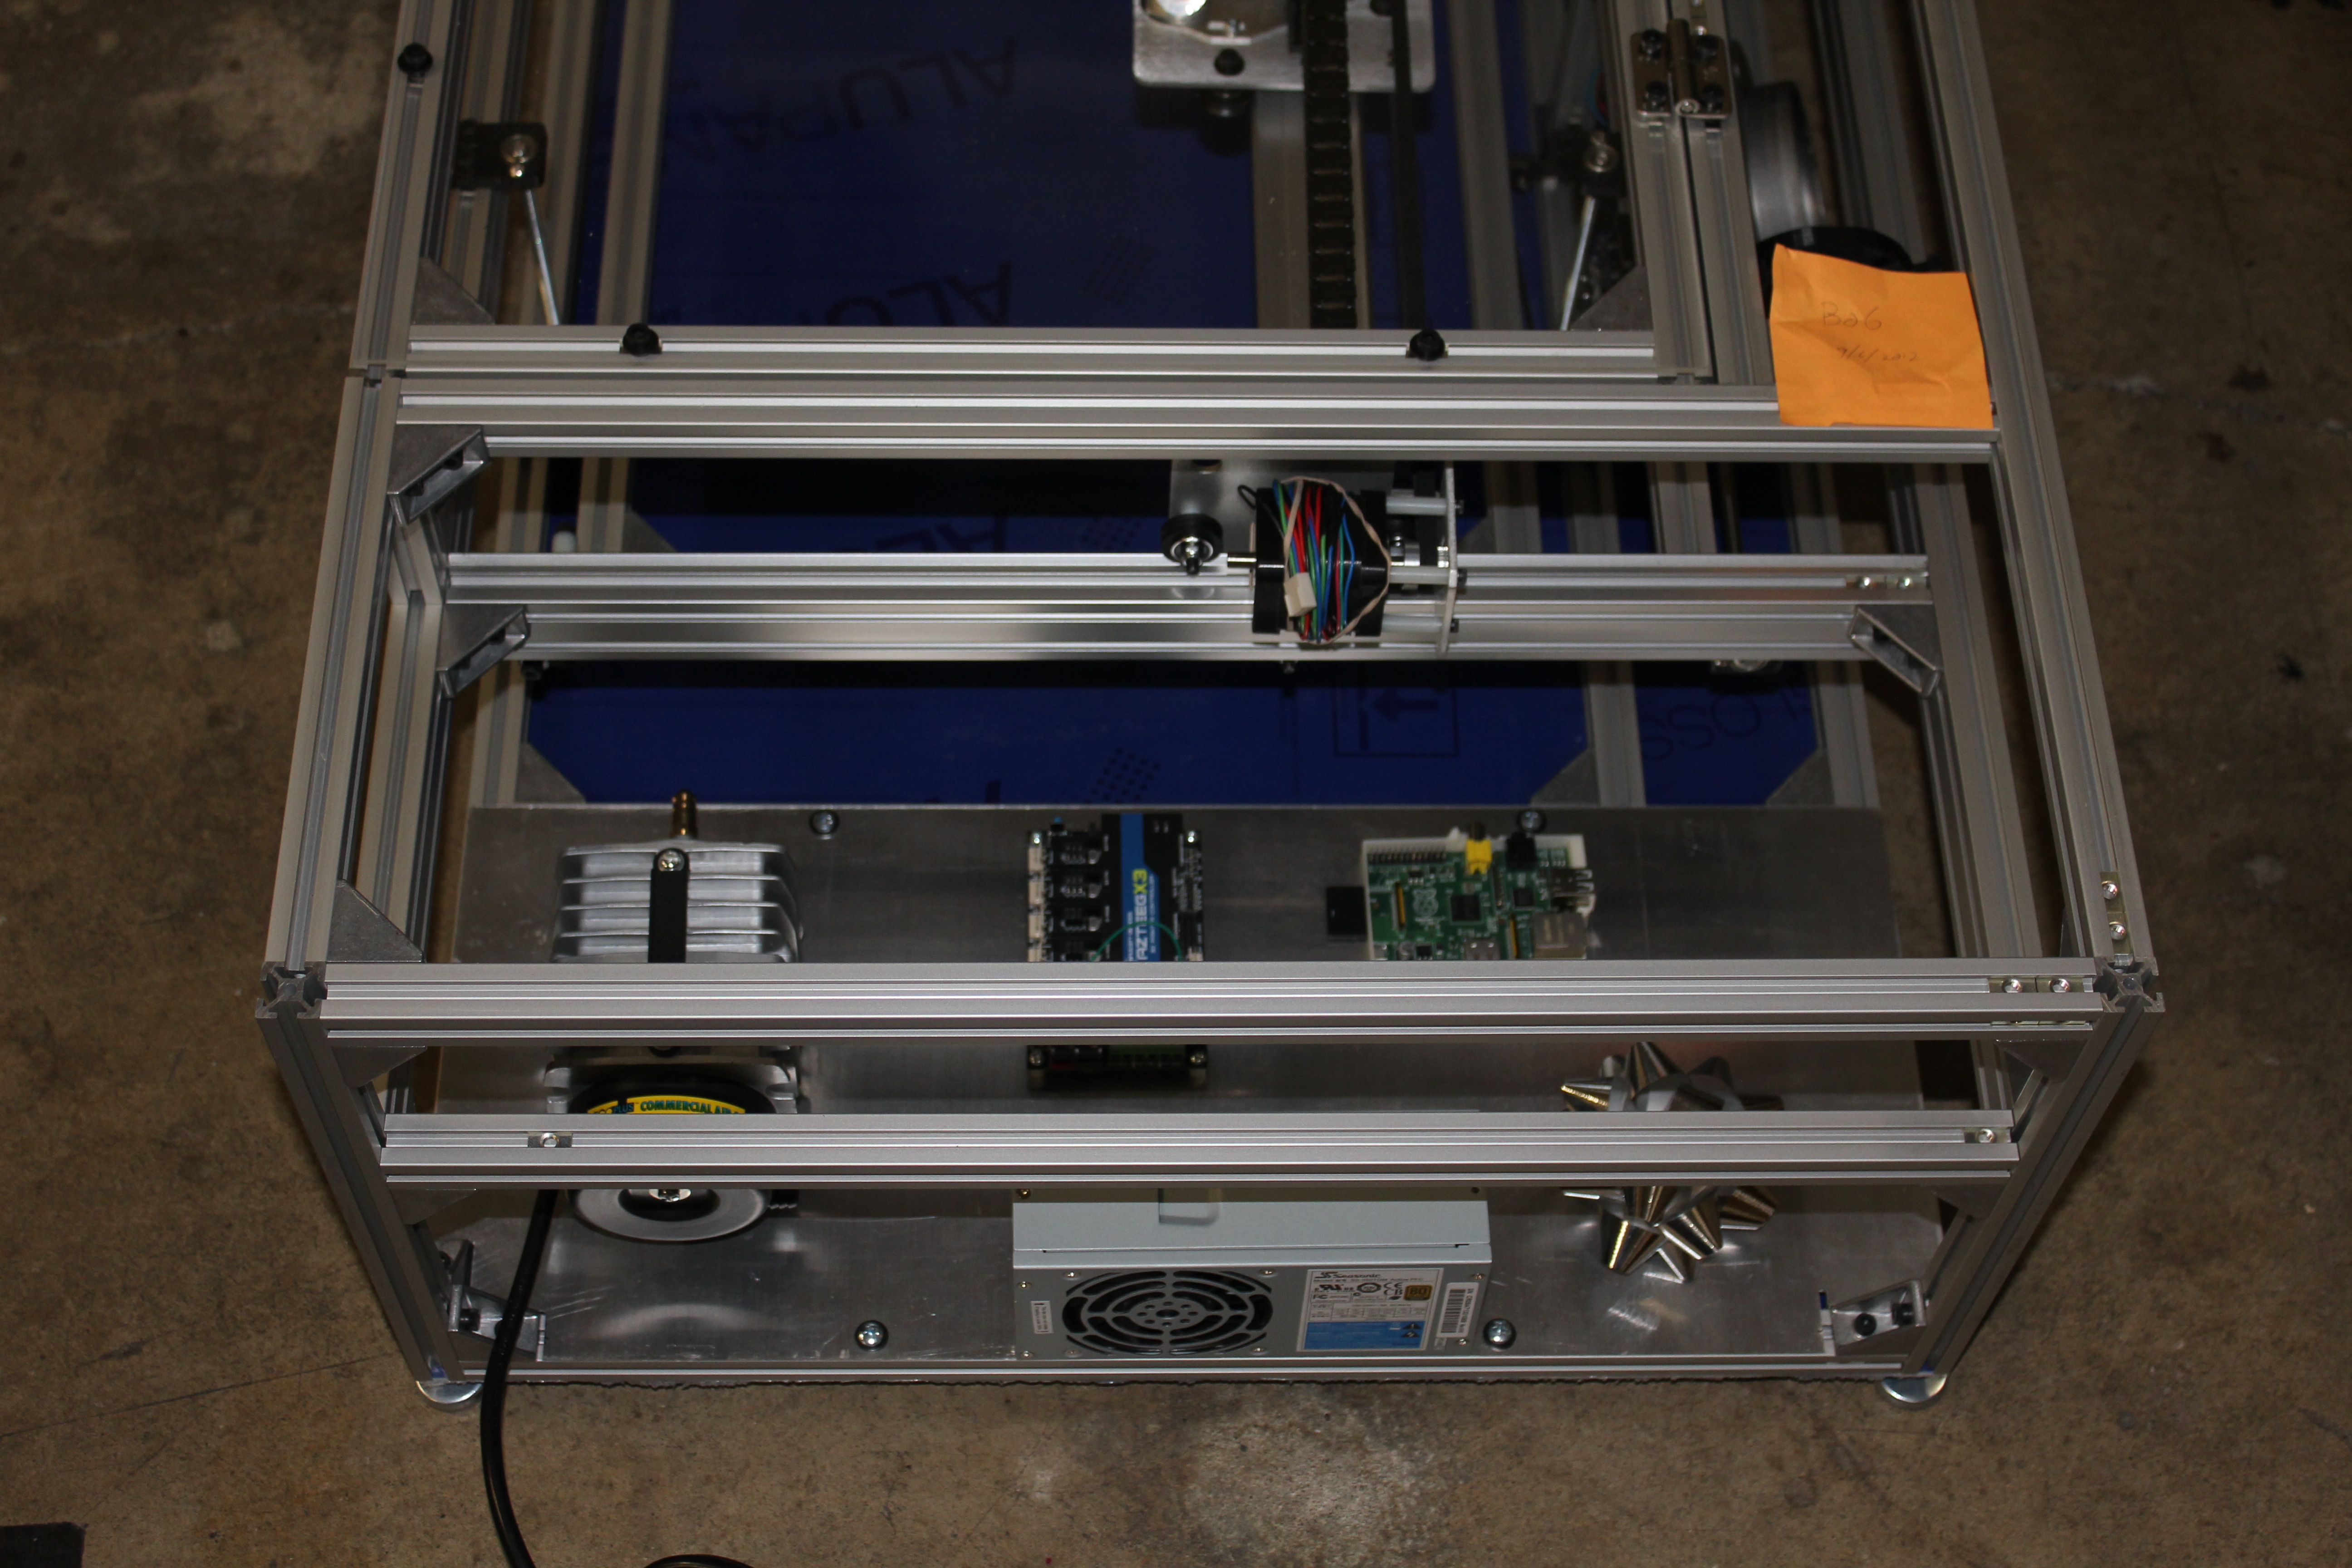
Oh, and I found out I’d left out one rail when I built the chassis back in September. It was the piece you see here just above the power supply. Now I’ve used up all the long pieces of Misumi rail, so I can repack my parts into smaller boxes that will fit into the car better. Yay!


Where do I get the plans to make that 3-d laser cutter?
and how much does it cost?
Hi, William.
I got the plans on http://www.buildlog.net/ . I originally budgeted the laser cutter at $2200. I don’t know what I’ve actually spent. (Not sure I want to know. (-: )